Bridges And Tunnels Pack Deal B
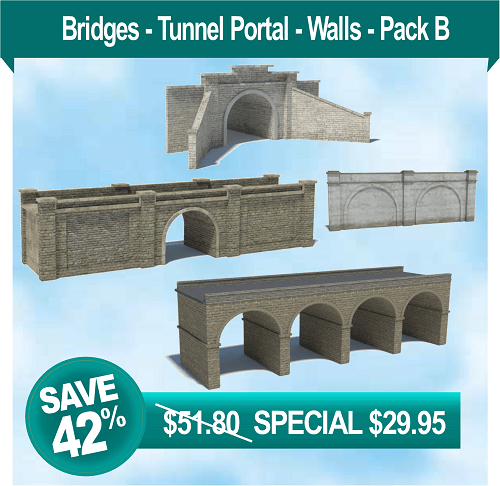
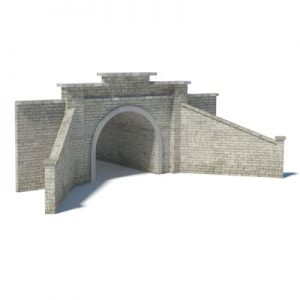
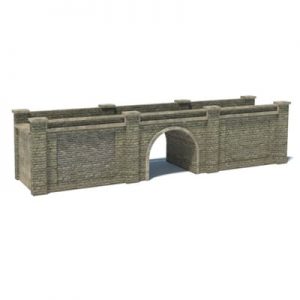
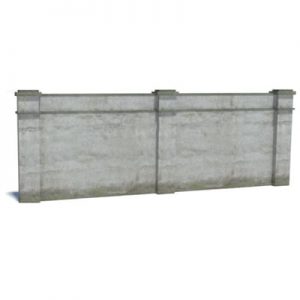
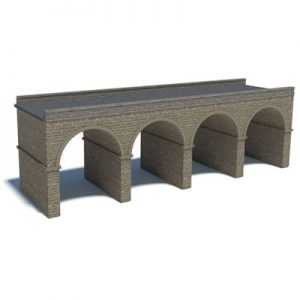
Plain and arched walls, 2 bridges, and a tunnel portal
Original price was: $51.80.$29.95Current price is: $29.95.
& Free ShippingBuilding Models: Construct 2 Model Train Bridges, a Scale Model Wall, and Tunnel Portal. Save 42% Today!
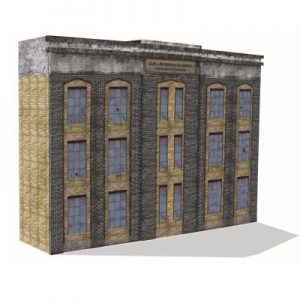
The big advantage of downloading printable plans for model train bridges and scale model walls like this, is that they give the viewer the idea the scenery stretches further to the distance than it actually does. Scale model walls look in almost any railway scene, but they can look especially good alongside industrial warehouse model buildings that are at home near railway lines. Model train bridges, tunnel portals, and scale model walls add character and authenticity to the overall scene. These miniature structures look so photo-realistic it is incredibly hard to believe they are in fact scaled-down replicas and not real-life-sized train bridges, brick walls, and tunnel portals. The printable building models for sale here look just like real-life-sized man made structures you’d see in a regular scene with real full-sized trains.
Constructing a miniaturized scene like this is remarkably straightforward as the printable paper models are cheap to purchase and so easy-to-assemble. Plan downloads of the model train bridges, tunnel portal, and the scale model wall are ready for scaling to the size you are modeling. If you are using HO then you might want to make an HO scale model train bridge appear even smaller in the distance (perhaps N scale). However, this is only viable if your HO trains won’t be running over it. A smaller model bridge or wall can be used as scenic props miles in the distance. The plans are download in ‘OO gauge’ and are quick to resize as HO scale or purchase N scale paper models. Download the plans. They are PDF files. Print them on regular photo copy paper using a home printer. Print 2, 3, or 4 copies if you want to that (there won’t be any extra charge). Plans for the OO scale, N scale and HO scale model buildings for sale on this website need to be used for private (not commercial) use. As I mentioned, ordinary paper is fine for printing out your model train bridges and scale model walls.
It is over to you how much additional strength you add to each building model or structure. Some modelers will glue the plans on to foam sheets (get it from a DIY Hardware or Discount Store) or corflute. Both materials come in as big sheets for hobbyists and cost very little. This makes the building models you make very sturdy when the paper parts are glued on the pre-cut corflute, foam board, or cardboard. How you construct your model train bridges is over to you. There’s no need to use a saw… a sharp Stanley Knife (or scalpel) will do the job with ease. Each of the model buildings and structures include flaps for adhering the parts together.
Downloading a file takes only moments. Save the file (or files) to your computer for quick and handy access in the future. Giving the file(s) away or selling them or trading them or distributing them to others is absolutely prohibited under copyright laws.
Tips For Building Models and Scenery – Make Your Model Train Bridges, Tunnel Portals, and Scale Model Walls Look Real With These 7 Weathering Techniques
Real life railway tracks gets worn down and weathered over a long period of time. This is caused by the changing weather and from being in use continuously (or perhaps not being used enough). To give the same effect to your model railroad, it requires you to add weathering effects to your layout. Adding weathering effects to your tracks, trains and building will give your railroad a realistic look that is hard to achieve if you use brand new items. Weathering is a fun and skilled aspect of building models and scenery.
Weathering is time consuming (but still loads of FUN) and it takes a while to enhance your weathering skills. However, following are different tools you can put to use to add weathering effects to your layout:
1. Dry Brushing Technique
Take a dry paint brush and dip it into paint of an appropriate color to create the effect that you want to achieve. Remove most of the paint from the brush by wiping it on a paper towel. Now paint the building or train from top to bottom, leaving streaks that will give the effect of cracked paint. You can use different colors and use the brush in different ways to accomplish differing effects. You can use red/orange/brown for rust, gray to add stains from exhaust, and black for oil and grease. Do not over do it by covering the entire area, rather focus on few places to give it a more realistic look. Flat matt acrylic paints generally work best. The model train bridges, scale wall models, tunnel portals and other building models for sale here are pre-weathered so there is no need to use this technique.
2. Wash to Highlight
Use textured surfaces on your train cars, bridges, walls, and scale model buildings. Now mix ten parts paint thinner in one part of paint. Use a brush to lightly paint the textured surface. The mixture of paint will start settling in the low spots of the texture and rub off from the raised areas which will give weathered look to model buildings or train cars. Watered down India ink can be used in this way to add dimension to cliff faces. The train bridge models, scale walls, and other model buildings on this website are already detailed so don’t require this technique.
3. Dull and Dirty
Use paint thinner with thin gray paint to make objects look more dirty or worn. Use an airbrush to spray the objects with gray paint, in a side motion. The airbrush will help you give a light coat of paint to the objects. If you want your train car or scale model rail yard buildings looking dirty then you can also use brown paint in the same way to achieve that effect. Nothing looks more fake than a brand new model building or engine straight out of its packaging. A look around everyday real life scenes will reveal that real life objects are far from perfect or clean. Unless a scale model wall, or model train bridge has been recently painted (unlikely if it is built out of bricks), it will likely show marks and indications of damage or wear and tear. The bridges and building models on this site come complete with indications of wear and tear.
4. Add Graffiti
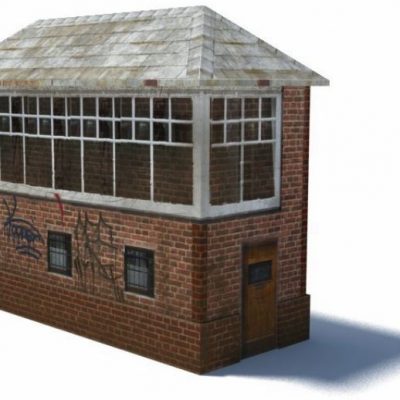
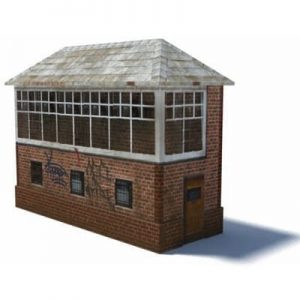
Even if you don’t like to see graffiti (or vandalism) on walls, trains, bridges or model buildings – in reality it is common these days. It is entirely up to you whether you include patches of it on your model railroad. You could add graffiti to trains, scale model buildings, model train bridges etc., if you are designing railroad scenery to depict a city area. You can apply graffiti stickers to the side of the trains or building models. Use gray paint to spray over graffiti with an airbrush. This will give a faded look to the graffiti making it look old. Make sure that you blend in the edges of the sticker to hide them.
5. Rough it up
To give scale model buildings, model train bridges, and rail cars a more weathered look, rub their sides with sand or sandpaper. This will create scratches and will make the objects look old. Although be aware – this technique is not required for the model buildings for sale on this website.
6. Rust
There are certain areas on trains such as wheels and bolts that are more prone to rust. Paint these areas with a rusty color to give make your trains look more real. Rail yard buildings with iron roofs are also prone to rust especially if the roof has been in place for many years.
7. Chalk Weathering
Create a pile of chalk dust by rubbing chalk along the edge of a knife. Sprinkle the dust over the objects that you are weathering. Spray these areas with lacquer finish. This finish will hold the dust particles in place to add a permanent weathered effect to the objects.
These are simple ways in which you can make your trains look weathered. Weathering effects are important to make your scale model walls and model train bridges and buildings look closer to real life and it depicts your attention to details while constructing railroad scenery. Join a train club in your area or online and have fun.
NOTE: The N scale, OO gauge and HO scale model buildings, model train bridges, and walls for sale on this page have already been weathered, so there is no need to add further detailing.


